Vue3的新特性
Vue3与Vue2的区别
setup
setup会在created之前就执行,所以是不能取到当前实例的
数据的定义不需要通过data 返回一个对象的方法了
1
2
3
4
5
6
7
8
9
10
11
12
13
14
15
16
17
18
19
20
<script>
import { ref,computed } from "vue"
export default {
data(){ // vue2写法
return {
flag: false
}
},
setup() { // 等于以上vue2的写法
// 要import ref
const flag = ref(false) // 其实构建的是个对象
// 必须要return出去 否则模板里取不到
return { flag }
}
}
</script> 如果不是用ref创建的变量是不支持响应式的
定义方法 也不需要
methods了,直接在setup里面定义后再返回出去1
2
3
4
5
6
7
8
9
10
11
12
13
14
15
16
17
18
19
20
21
22
23
24
25export default {
setup() {
const toggle = () =>{
flag.value = true
// 是个对象 操作数据需要使用flag.value
},
fn(){
console.log('fn')
}
const x = () =>{
}
const getValue = computed(()=>{ // 计算属性(要引入)
return ""
})
const changeValue = computed(()=>{ // set get照常
get() {
return modelValue
},
set(newval) {
this.$emit("update:modelValue", newval)
}
})
return { toggle, fn, x, getValue }
},
}reactive是用于创建对象,并且只能用于创建对象和数组1
2
3
4
5
6
7
8
9
10
11
12
13
14<script>
import { reactive } from "vue"
export default {
setup() {
const data = reactive({
xx:"",
yy:1
})
return { ...toRefs(data) } // 直接把数据存在data里面就不需要每次操作数据的时候还要xxx.value了
}
}
</script>toRefs
- 响应式对象结构之后的属性是不具有响应式的,toRefs能将每一个属性变成响应式
- toRef的用法:toRef(对象,属性) 单个处理。
获取props
1
2
3
4
5
6
7
8
9
10
11
12
13
14
15<script>
export default {
setup(props,context) {
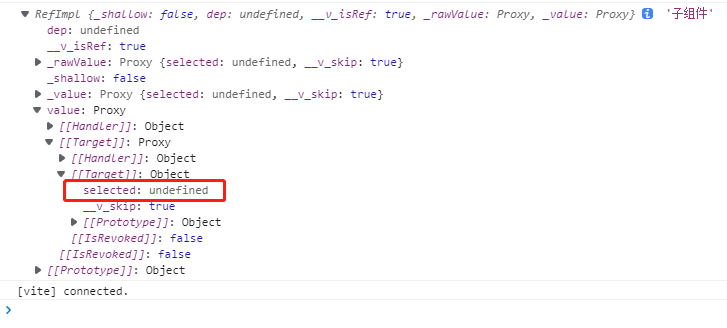
console.log(props) // 是一个Proxy实例对象,里面就是父组件传递的props
console.log(context)
// attrs props未接收的所有参数
// emit // 同$emit
// expose 是用来控制暴露数据的
// slots 插槽
return { }
}
}
</script>expose的用法


在没有使用expose的时候,父组件可以通过ref来获取子组件和子组件里面的所有数据
使用后如下

所以expose是控制暴露数据的
获取ref的方法
因为现在不能通过this获取到vue实例,所以之前的this.$refs不能用了。而是改为如下方法

emit,slots
1
2
3
4
5
6
7
8
9
10
11
12
13
14
15
16
17
18
19
20
21
22
23
24
25
26
27
28
29
30
31
32
33
34
35
36
37
38
39
40
41
42
43
44
45
46
47
48
49<template>
<slot name="btn"></slot>
</template>
<script>
export default {
name: '',
emits: ['collapse'],
setup(props, { emit, slots}) {
const handleClick = () => {
emit('collapse', !props.collapsed);
emit('update:flag',true);
console.log(slots?.btn)
};
return {};
},
};
</script>
- watch , watchEffect
```vue
<template>
</template>
<script>
import { watch,watchEffect,ref } from 'vue';
export default {
setup(props, { emit, slots}) {
const visible = ref(false);
const changeVisible = () => {
visible.value = !visible.value;
};
watch(() => visible, (newval) => {
console.log(newval)
}, {
deep: true,
});
// 初次加载就加载一次
const watcher = watchEffect(() => { // 返回值为取消当前监听的方法
console.log(visible.value); // 跟computed类似,监听依赖的值,不需要像watch一样指定
})
watcher();
return {};
},
};
</script>inject, provide, onMounted, vuex, vue-router, getCurrentInstance
1
2
3
4
5
6
7
8
9
10
11
12
13
14
15
16
17
18
19
20
21
22
23
24
25
26
27
28
29
30
31
32
33
34
35
36
37
38<template>
<div>父组件</div>
</template>
<script>
import { provide } from 'vue';
export default {
setup() { // 只能在setup里面使用,不然控制台有警告
provide('haha', 123);
return {};
},
};
</script>
<template>
<div>子组件</div>
</template>
<script>
import { inject ,computed ,getCurrentInstance} from 'vue';
import { useStore } from 'vuex';
import { useRoute, useRouter } from 'vue-router';
export default {
setup() {
const store = useStore(); // 获取当前路由信息
const router = useRouter(); // 获取当前路由实例
const store = useStore(); // 获取当前仓库实例
console.log(inject('haha')); // 123
onMounted(() => {
const userInfo = computed(() => store.getters['user/info']);
const instance = getCurrentInstance(); // 获取当前实例
console.log(instance);
router.push({
path: '/work-main/chainDesign',
});
});
return {};
},
};
</script>